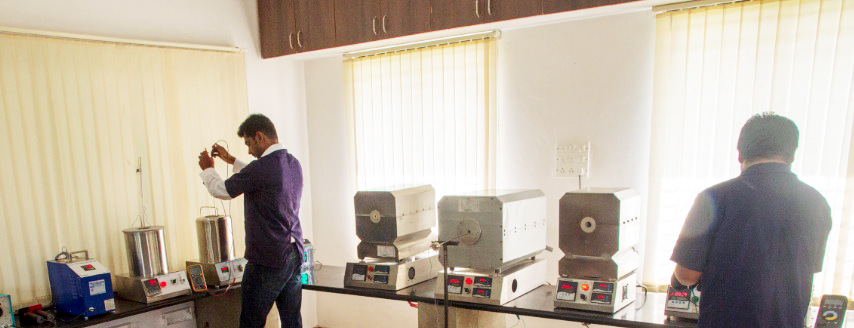
NABL Calibration
NABL (National-Accreditation-Board-for-Testing-&-Calibration-Laboratories) happens to be an autonomous body that comes under the Indian Government’s Department of Science & Technology. This organization provides accreditation to testing & calibration laboratories in various fields in the country. So, when it comes to thermocouples and other such heating sensors and equipment, NABL accreditation ensures that the calibration services provided by a laboratory meet the required standards and are traceable to national or international standards. As the product quality benchmarks as well as energy efficiency standards are soaring high over the past few years, end users are thus demanding more certainty & traceability from the wide range of products that they tend to purchase.
Steps Involved
Here are the steps that are typically involved in NABL calibration for thermocouples, heating sensors and other such temperature measuring equipment:
Selection of Accredited Laboratory: Choosing a calibration laboratory that is accredited by NABL for thermocouples & heating sensors is first and foremost. Accreditation ensures that the laboratory meets specific technical competence and quality management system requirements.
Preparation & Transportation: Ensuring that the thermocouples or heating sensors are properly prepared for calibration is the next step in this direction. This may include cleaning, inspection, and any necessary adjustments. Packaging them securely for transportation to the calibration laboratory follows next
Documentation: Then comes the step of providing the calibration laboratory with any relevant documentation, such as datasheets, user manuals, or specifications for the sensors being calibrated. This information will assist the laboratory in understanding the sensor’s characteristics.
Traceability: The calibration laboratory should be having a documented process for traceability. This means that the measurements made during calibration can be linked to national or international standards. For thermocouples, this typically involves using a standard reference junction or another calibrated thermocouple.
Calibration Process
Stabilization: The thermocouples or heating sensors may need time to stabilize at the calibration temperature before measurements are taken. This helps ensure accurate readings.
Testing Points: The sensors will be exposed to different temperature points to cover the range of operation. For thermocouples, this could involve a range of temperatures representative of their typical use.
Measurement & Recording: The laboratory makes precise measurements of the sensors’ output at each test point. These measurements are recorded along with their associated uncertainties.
Data Analysis & Calculation: The calibration laboratory analyses the collected data to determine the calibration coefficients or corrections required for the sensors.
Calibration Certificate: Upon successful calibration, the laboratory issues a calibration certificate. This certificate includes details like the sensor’s identification, calibration points, uncertainties, and other relevant information.
Post-Calibration Actions: After receiving the calibrated sensors, it is essential to update the records to reflect the new calibration values. This ensures that the company is using accurate data in the processes.
Regular Recalibration: Keeping track of the calibration expiration dates for the sensors holds importance. Periodic recalibration is necessary to ensure continued accuracy.
Expert in Thermocouple and RTD Calibration
Heatcon Sensors happens to be a company that primarily specializes in thermocouple & RTD calibration. We are very proud to serve a vast range of industry segments with our accurate & traceable in-house NABL (Accredited) calibration service, which is totally applicable for RTD sensors, thermocouples, and cables under the scope of ISO/IEC 17025 & ISO 9001 that all fall within our fully NABL-accredited calibration laboratory.
Thermocouple and RTD calibration - NABL Accredited LAB


